Create the Best Travel-Inspired Classroom Resources
In an ideal world, students would load up on a bus (or train, or plane, or boat…) and we’d have weekly field trips to learn every new concept on location. Unfortunately, we’ll never have the time, budget, or manpower to make that a reality. As teachers, we’re responsible for helping students make real-life connections to the content. Although we can’t take our students around the world, we can bring those cultural and personal connections to them through travel-related classroom resources. Teacher travel experiences can bridge the gap between abstract concepts and student understanding. From gathering resources to incorporating material in your classroom, read on to learn how to develop travel-inspired learning.
Teaching with a Passion
Student learning is a priority and I enjoy teaching, but traveling is when I feel the most alive. Someone once said to me, “If traveling is your passion, why not bring that into your classroom?” That makes so much sense. Slowly, I began introducing travel stories and more travel connections to the content. The student responses were very positive. Incorporating travel in the classroom has grown to where now, taking students on “adventures” around the world is a central theme.
I teach high school science, so most of my experience connecting travel to content is science focused. However, these same strategies can be successful for students in any subject and any grade. I’d love to hear how you incorporate travel in your classroom!
Learning Occurs Everywhere
A student asked, “Do you pick the places where you go based on where the science is?” Before I had a chance to respond, another student chimed in and said, “Science is everywhere! Anywhere she goes there’s science.” That response hit the nail on the head. To add to that, learning occurs everywhere. So, regardless of your subject, there are always classroom resources you can bring back from your travels. That’s great news because your classroom will benefit when you adventure anywhere!
I learned about developing travel-inspired classroom resources through a lot of trial and error. You get a head start because I’ll share my successes and mistakes, we’ll call those “learning experiences.” Read through the tips for while you’re traveling, when you get home, and while you’re teaching to prepare engaging content.
Benefits of Travel for Teachers
While You’re Traveling – Gather Information
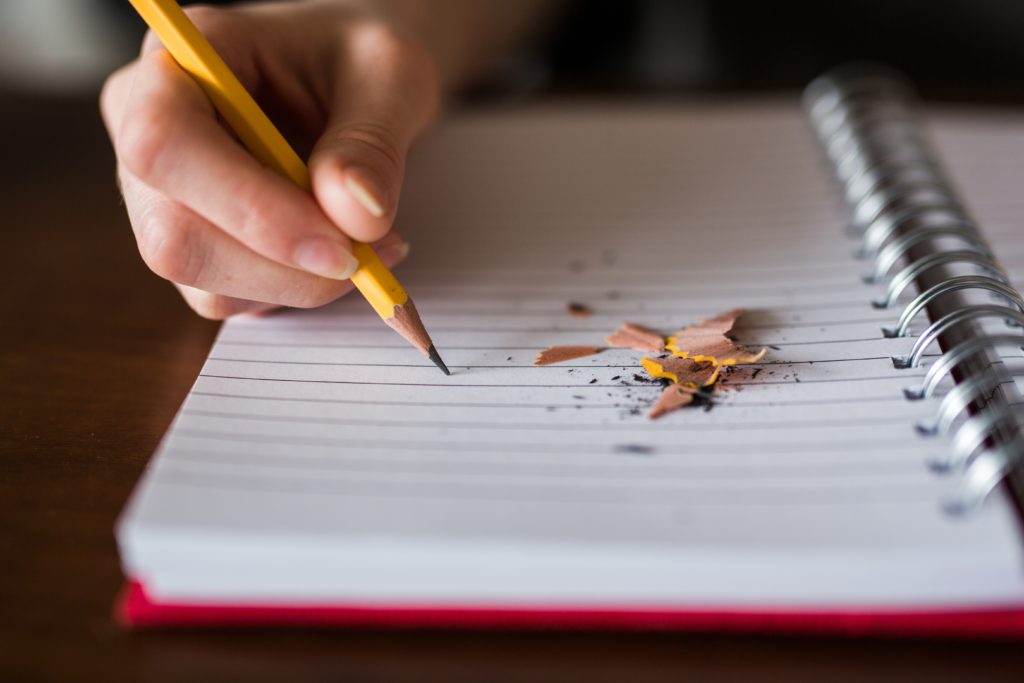
Write a Travel Journal
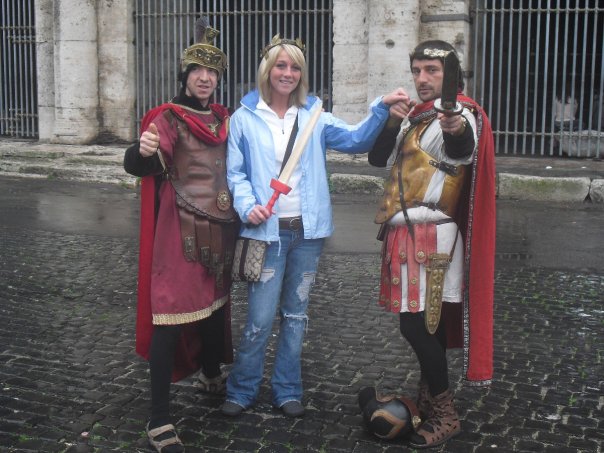
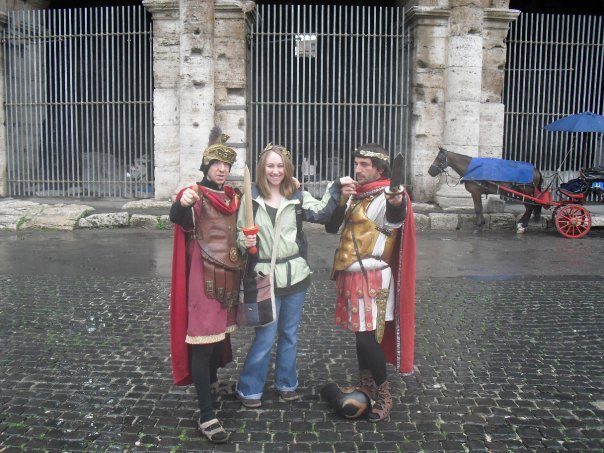
Something I didn’t do when I started traveling and now regret, is keeping a journal of my adventures. I like to think my memory is pretty great, but let’s be real, we all forget details over time. Thank heavens for Facebook memories from ten years ago to remind me how my sister and I got our pictures taken with the “gladiators” at the Roman Colosseum. How many of these experiences have I forgotten forever?
I never thought of myself as much of a writer (ironic, now that I write this blog), so I wasn’t super pumped about journaling. Learn from my mistake, it’s worth taking five minutes and the end of the day. Start a small journal and jot down what you saw or did that day. You don’t need to write a novel, just a few notes to jog your memory in the future.
You never know what content you’ll teach in the future. Writing down your travel journies in the moment provides you with a resource to look back on as your courses change. Most of the travel connections that are now staples in my classroom resources were not even on my radar until years later. Since I haven’t been journaling since the beginning, I can’t imagine how many travel connections I’ve missed.
Collect FREE Classroom Resources
How many times have you grabbed a stack of brochures, tossed them in your bag where they get bent and torn, only to throw them in the trash when you got home? I’m guilty of this but finally got smarter. Don’t hesitate to gather pamphlets, brochures, and flyers while you’re traveling. Even if you don’t go on each excursion or visit every historical site, you’ll have valuable (and free!) resources to share with your students. Keep your resources safe by storing them in a pouch. An inexpensive pencil pouch easily fits brochures and pamphlets.
If you’re traveling with very little luggage or long term and don’t want to collect too many things, save a digital version of your resources to access later. Office Lens (Apple Store or Google Play) is an app that allows you to scan documents and save the file as a PDF. I also recommend using this app even if you keep the paper version so you have a digital back-up. Digital copies of materials can easily be shared with all of your students.
Take So Many Pictures
Have I mentioned you can learn from my mistakes? Well, here’s another opportunity for you to start off better than I did. When I first started traveling, I wanted to be “in the moment” and scoffed at all the people viewing the cityscape or scenic vistas through their camera lens. That was great, but I’ve forgotten so many of the incredible things I saw because I don’t have photos. Now, I try to maintain a balance of enjoying the location and capturing pictures to share with others and relive those memories for myself. I’m still not great at it and have to actively remind myself to snap a quick picture before moving on.
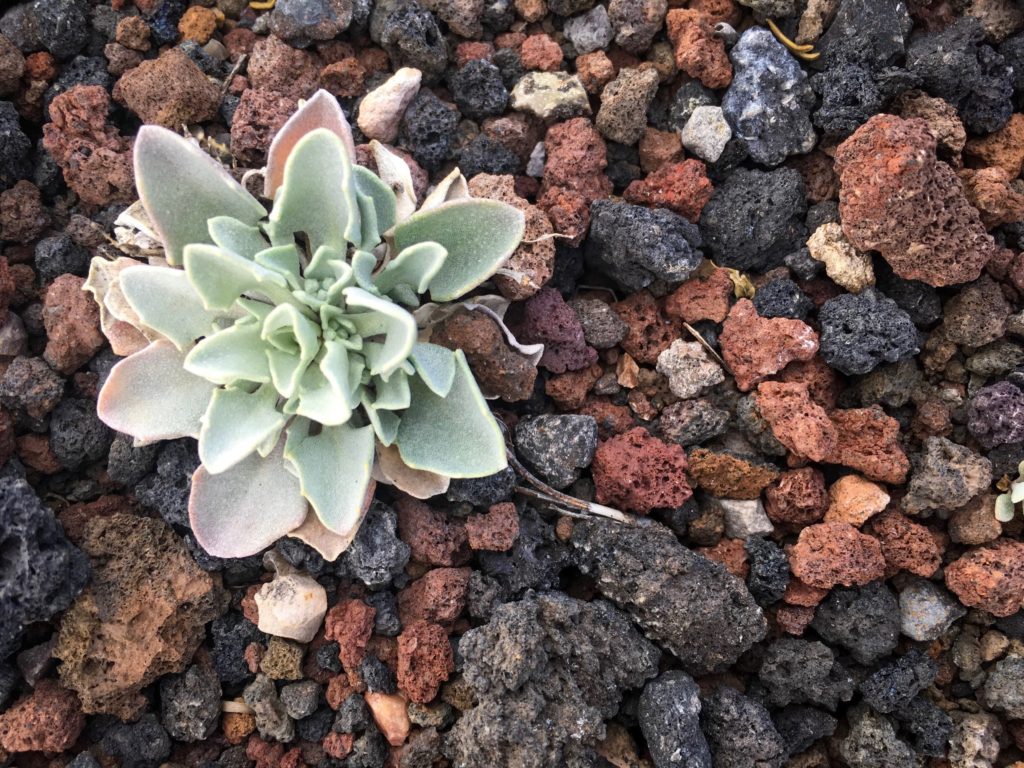
Don’t hesitate to take pictures of things that don’t directly connect to your current content. You never know when your courses might change or you’ll build a travel-classroom connection that you didn’t anticipate. Years before teaching earth science, I hiked around Sunset Crater Volcano National Monument and took a picture of a succulent growing in some cool looking rocks. Later, I learned those rocks are an igneous rock called scoria, formed from lava that cooled so quickly gases are trapped inside the rock.
Now that cell phone cameras have improved, there’s no reason to travel with an expensive, bulky camera. If you have a nice camera and don’t mind traveling with it, by all means, go for it, but it isn’t necessary to capture quality pictures for your classroom. Personally, I use my iPhone camera and it is perfectly adequate. A free photo editing app, such as Adobe Lightroom (Apple Store or Google Play), allows amateur photographers to take (almost) professional looking pictures.
Don’t be ashamed to take a selfie. Your students will love seeing pictures of you on your travels. Plus, it’s nice to have images of yourself at these scenic locations.
Share Pictures
If you’re traveling with others be sure to set-up a way to share pictures with each other. Create a Google Photos Shared Album (you will all need a Google account) and you can create a shared album for contributors to add and access pictures.
Record Short Videos
Videos are an asset to your bank of classroom resources. Slo-motion and time-lapse videos are helpful features when showing a process that naturally occurs quickly or over a longer period of time. Use a tripod made for your cell phone to help create stable, easy-to-watch videos.
While You’re Home – Organize Your Materials
When you return home, you’ll have a plethora of information, pictures, and materials that can serve as useful classroom resources. Now you need to find a way to organize everything. Set aside time to sift through your materials soon after you return while the experiences are fresh in your mind. Determining the best way to arrange your materials will be a process of trial and error, so if one system isn’t working for you, change it up to fit your preferences. Regardless of your strategy, dedicate time to your organization system and avoid placing your resources in a forgotten cabinet where they will collect dust.
Organization Strategies
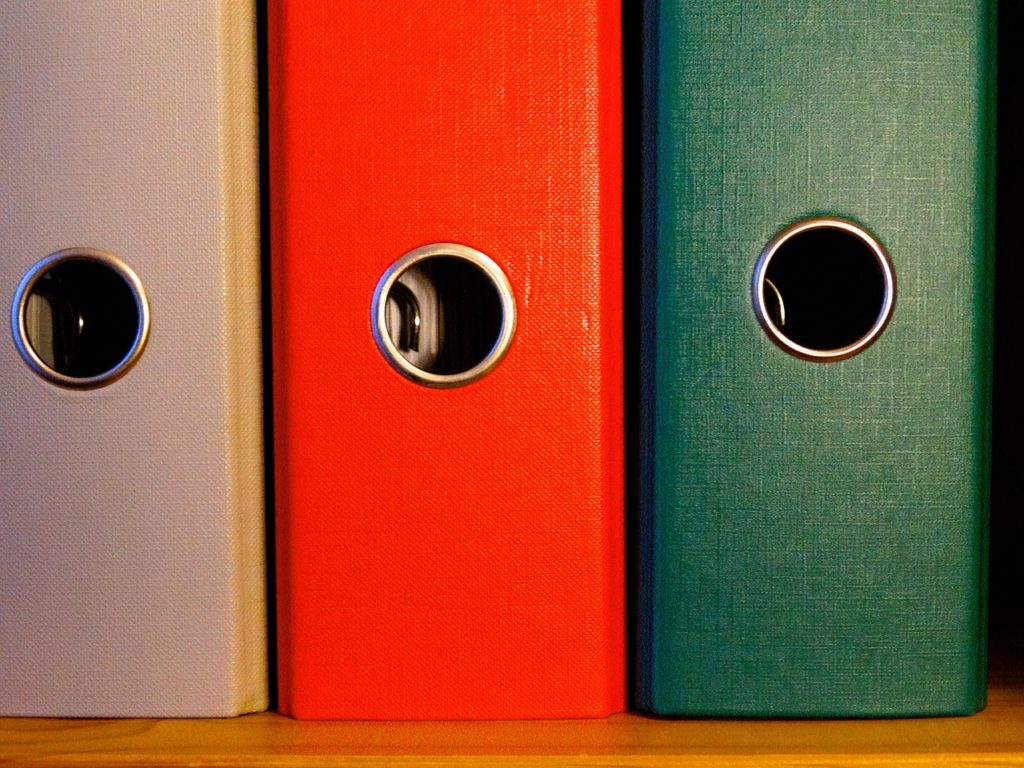
Accordion files are perfect for storing pamphlets. Label the tabs by location or content and keep similar resources together.
Google Drive
If you don’t have a Google account, you need to sign up for one (it’s free!). I’m an avid Google user and have all of my important classroom resources stored digitally on a Google Drive. The programs are similar to Microsoft Office Suite, are easily accessible from any device, and can quickly be shared with other educators and students.
Create a Google Drive Folder called Travel Resources. This is where you will store all of the information and pictures you have gathered. Travel Resources will be your main folder, which will store sub-folders to keep you organized. The set-up process for this will take some time on the front end, but once you gather more travel resources and start using them in your classroom you’ll be glad you did this step in the beginning. I speak from experience on this one.
Travel Journal – Notes
Remember all of those notes you journaled while you were traveling? Create a sub-folder titled Notes to store all of the experiences you wrote about. I take the time to type a Google Doc (titled with the name of my travel destination) with all of my hand-written notes. It provides me with time to reflect on the adventures and I prefer to have digital resources as much as possible. One advantage of using a Google Doc is the search feature (ctrl + f, if you’re using a PC) to find specific information within your notes. If this seems too daunting, use the Office Lens app to make a PDF of your journal, then upload it to the notes file.
Pictures
Create a folder for Travel Pictures. Organize pictures by location or content, whichever strategy works best for you. I prefer to make a separate folder for each trip.

Database of Travel-Related Resources
This is probably the most tedious step in the organization process. It is worthwhile to organize your curriculum and prepare travel-centered experiences or stories for your students. As a starting point, I recommend organizing materials by location or content. Personally, I prefer to organize the database around content as a specific location has the potential to connect to multiple concepts. Figure out what works best for you and stick with it in order to connect the most travel-related classroom resources to your content.
Classroom Resources By Location
This strategy works well if you’re lessons integrate multiple concepts from one location into a single unit. Organizing based on location may also work well if you are consistently teaching the same courses.
Classroom Resources By Content
I teach multiple courses and the classes I teach can change from year to year, so I prefer to organize my classroom resources based on content. I may include the same travel experiences in biology as I do in earth science, but the perspective will change based on the concepts in each course.
While You’re Teaching – Enhance Your Content
Now that you’ve put in your time organizing your materials, you’re ready for the fun part! Well, the second fun part, the first being the travel. Travel-related classroom resources can enhance your teaching in many ways. You’re already a more well-rounded person and teacher now that you’ve experienced a new part of the world and a different culture. Any strategy you use to bring travel experiences into your classroom will benefit your students, so don’t be scared to try something.
You don’t have to completely re-structure your curriculum, just start by integrating travel stories here and there. As you feel more comfortable, continue bringing in more travel-inspired resources. I started with quick thirty-second stories as they popped into my mind, then dabbled with including pictures and videos. Since students were responding positively and asking more questions, I decided to be more intentional about incorporating travel into my curriculum.
Notes and Classwork
Including travel should lean more towards hands-on and experiential learning than notes and worksheets, so don’t spend too much time here. The best way to incorporate travel in written classwork is pushing students to think about how and/or where they would explore to learn more about a concept. Open-ended prompts will challenge students to think about other people, cultures, and locations which is essential in the social and emotional growth of students.
Pictures and Videos
Spruce up your slideshows with pictures from your travels; students especially enjoy seeing pictures of you at various locations. Print and frame some of your favorite pictures to decorate your classroom and they can double as resources. Students enjoy passing around pictures they can hold and look at.
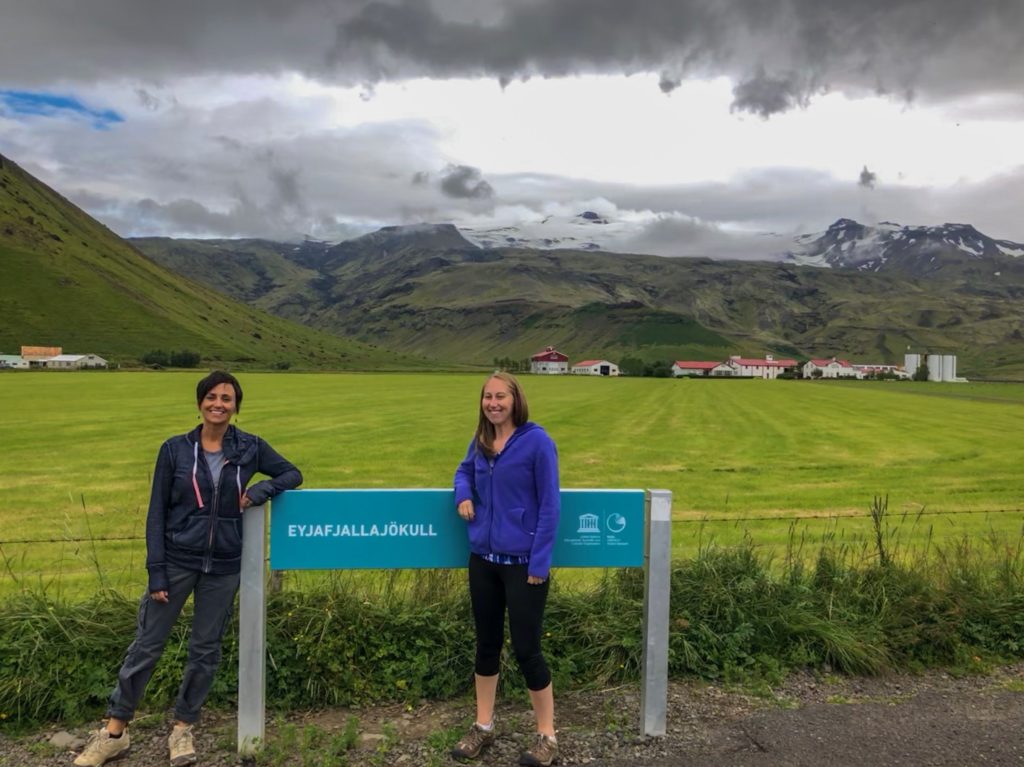
Pictures can also be used as a central part of a lesson or activity. Several pictures that I took at Sunset Crater Volcano National Monument are used as clues during a mystery volcano identification activity where students must classify volcanoes from around the world. After a recent trip to Iceland, I can add pictures of Eyjafjallajӧkull, the volcano that erupted in 2010 shutting down airports across Europe.
Set-up a folder with pictures that students can access for in-class projects. When we discuss hot spots, students get excited to talk about the supervolcano lying dormant under Yellowstone National Park. We look at pictures of steaming hot springs, but they don’t realize how suffocating and strong the scent of the sulfur gas is until I share my experiences. Sometimes a student has been there and backs up the strong smell and burning feeling in your lungs.
Videos can be used in many of the same ways as pictures. Slo-motion videos are a great way to show a process that occurs quickly and time-lapse videos will show changes or processes that occur over a longer period of time.
Stories
This is pretty self-explanatory, so I don’t think you need much direction about telling travel stories to your students. Don’t be afraid to go off topic for a minute to share a slightly unrelated travel experience that will help students connect to a place. When I see students studying for a Spanish test instead of immediately redirecting them to their current task, I share a brief story about how important learning large numbers is because the prices of many items in Central and South American currencies are often in the hundreds or thousands of pesos (or colones, etc.).
3D Images
The technology for creating your own 3D photos on an iPhone isn’t spectacular, but it is new so I have strong hope for the future. Before you start hunting around your iPhone to find the 3D feature, it is not really an application of the iPhone rather a workaround through the Facebook App. This only works on pictures taken in portrait mode and you can check out iMore for directions.
This may be cheating a little bit, but there are 3D images from around the world and solar system, available through a simple Google image search. I’ll admit, I have never been to the moon, but a quick search of “3D image moon” and there are several options that can be displayed through a projector or smart board. See some awesome examples here. Students will need 3D glasses to observe the 3D effect, which are incredibly inexpensive and available on Amazon or from Rainbow Symphony. There are a plethora of 3D images available of sites all around the world; try a Google image search and see what you can find.
Exploration Passports
Nearly all of the national park system locations, including monuments, historical sites, etc., participate in the Passport to Your National Parks program. Each participating location has a stamp that you can collect in a National Parks Passport. That program serves as the travel theme foundation for the earth science class this year. Travel resources have already been incorporated with many of the concepts, but this is the first year that travel will be a central theme for the class.
Every student will get their own “passport” with a map of the United States and the world inside. I’ve been surprised by how many high school freshmen aren’t familiar with the location of several states. I plan to embed some geography in the earth science lessons. The passports were easy and inexpensive to make with cardstock and white computer paper.
Students will use their passports to record geological information about sites that we “visit” throughout the semester. Since this is being implemented for the first time this year, I don’t quite have all the kinks worked out.
Start Traveling
Don’t miss how to plan Epic Teacher Travel
If you’re feeling overwhelmed about how to start the process of expanding your travel through teaching and connecting your experiences to content, I’m here to help!
One thought on “Create the Best Travel-Inspired Classroom Resources”